
Tips for Capturing Eye-Catching Listing Photos
Discover effective strategies to enhance the appeal of your listings and attract more bookings. Learn tried-and-tested methods that can swiftly elevate the quality of your listings, making them more enticing to potential guests.


Lesson 3 : How to take attractive listing photos
Learn to take great photos of your property regardless of your budget.
Your photos are a big deal. They’re not only invaluable as a marketing tool, but also set the right expectations and attract the right type of traveller.
Give your photos the attention they deserve – Good, detailed photos help guests make a decision of whether or not to book.
3 min. – Reading time
Do this before you take your photos
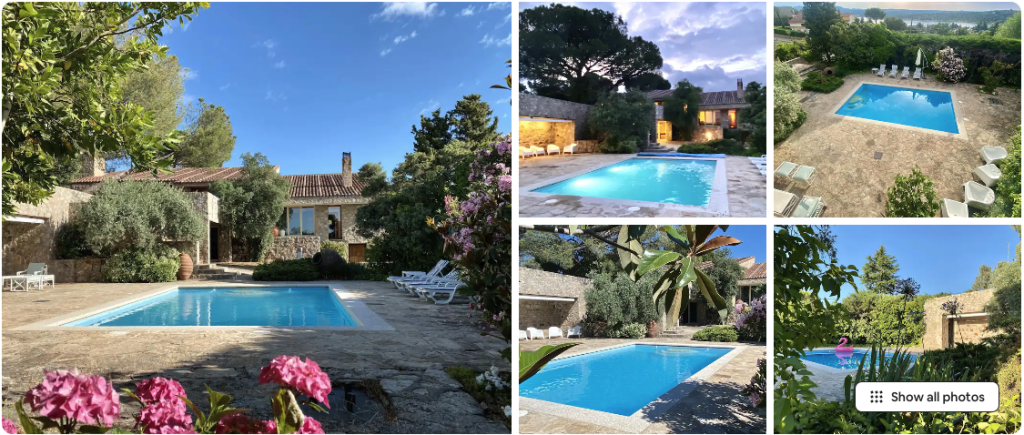
1. Highlight unique features
Survey your property and consider everything that could make it extra attractive. Note these features down and make sure they’re brought to attention in your photographs.
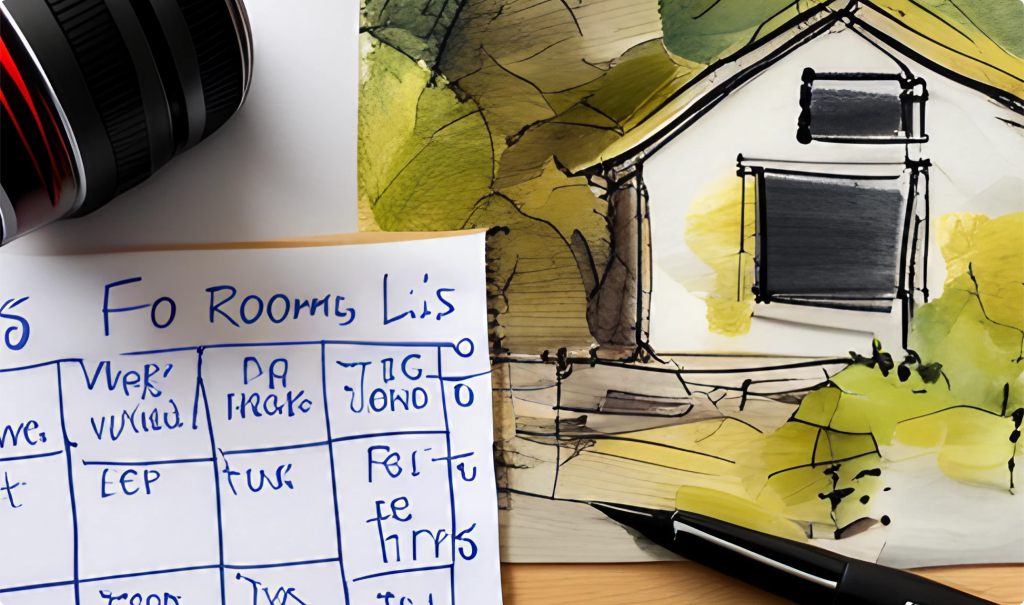
2. Plan ahead
Before you consider taking photos, it’s good to come up with a list. Survey your property and take notes and plan each photo you wish to take for each room or space. Make sure to use the unique features you identified to your advantage.
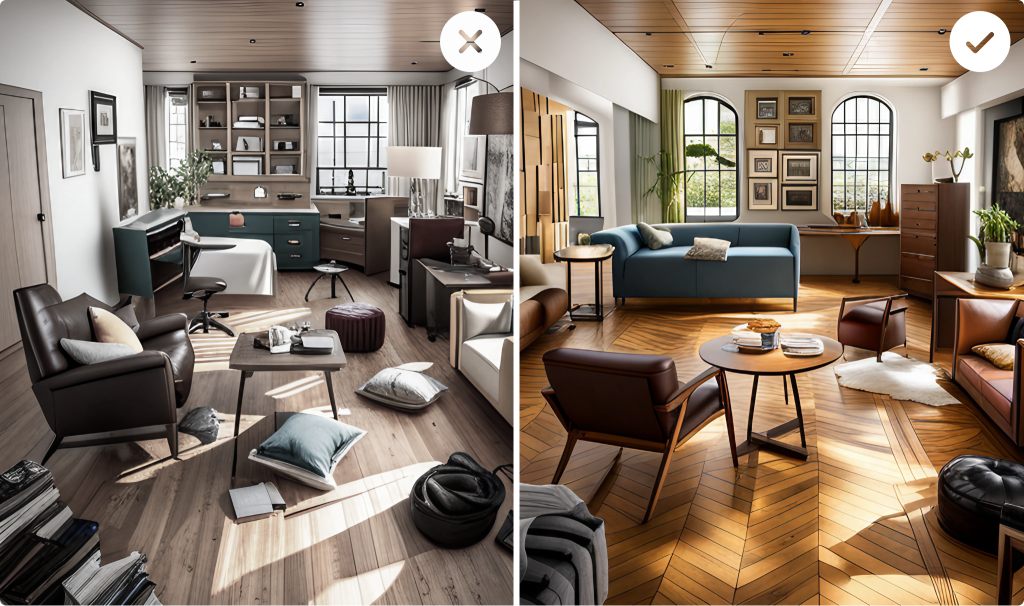
3. Clean your space, remove all clutter
Make sure your place is clean and remove all random objects. Make sure the space feels welcoming and open to the needs of your guests.
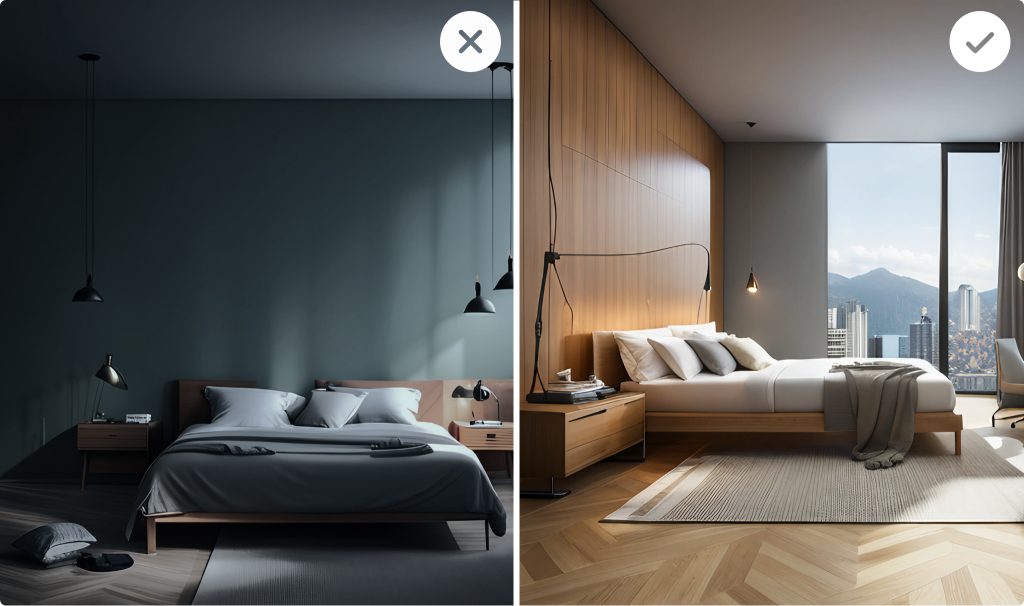
4. Work with natural light
If you don’t have professional lighting equipment, don’t worry. Natural lighting is often all you need to capture great photos of your space. When taking photos indoors, take them at peak daylight hours. To capture enchanting photos of the outdoors, take photos an hour before sunset or an hour after sunrise.
5. Get inspired by similar listings
Look at high performing listings similar to yours. What common features do you see in their photos? Get inspired and take the best parts of what you see with you.
How to take high-quality photos
Nowadays, you can use almost any camera – including the one on your phone – to capture high quality listing photos. Follow these steps to get the best results regardless of your equipment.
- Always take horizontal photos (landscape mode)
- Turn OFF your flash
- Turn on grid lines and centre the subject of your photo
- Do not tilt your camera up or down to keep the perspective realistic
- Keep things fresh by taking a variety of close-ups, mid-range, and wide photos
- Maximise natural lighting
- Enhance your photos on your phone or computer
How to arrange your photos to tell a story
Once you have your high quality photos, you want to make sure you’re showcasing them in a way that gets attention and tells a story to your ideal guests.
Make your best photo your cover photo. It should be the best landscape orientation photo of your listing or a standout feature of your listing that will catch someone’s eye.
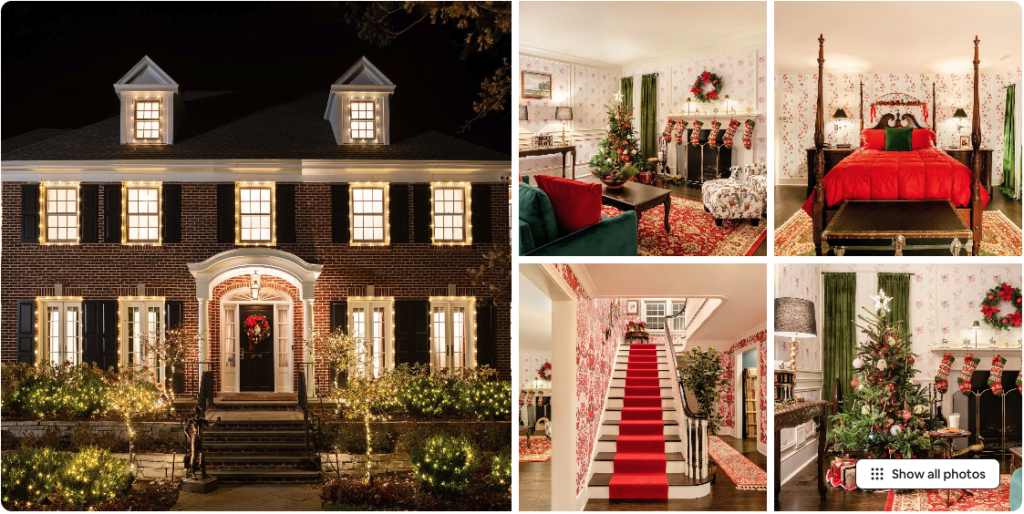
Then, place your other photos as though you’re a guest arriving at your property.
What do you see when you arrive? A storefront, facade or exterior view of the building? Maybe a beautiful hallway / entrance lobby?
Then, have your consequent photos continue through the space as you imagine the guest walking in. Capture the experience of coming from the outside in, seeing the home, seeing the view.
Up next: Dynamic Pricing
Once you’ve nailed your photos, title, and description and your listings are in peak shape to bring you bookings all year long, your next focus should be on pricing your property the right way. Tune in for the next lesson to find out how dynamic pricing can help you do just that.

Your.Rentals
Your.Rentals is your All-in-one short term rental management solution. Manage your property listings, calendars, bookings and payouts on dozens of sites all through one single account – no need for an account on each channel. Simple to use and easy to get started. No sign-up fee, no subscription and no additional price per listing. You only pay when you get a booking.
Not using Your.Rentals yet?
Get in touch, or create an account